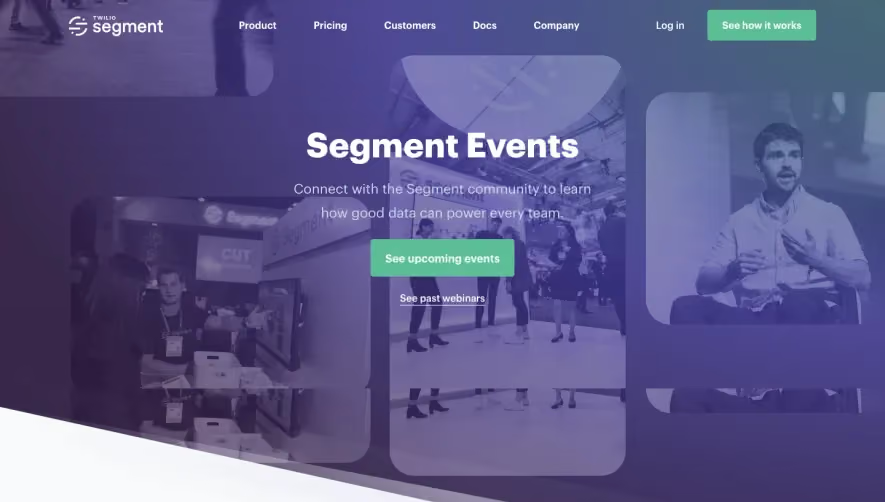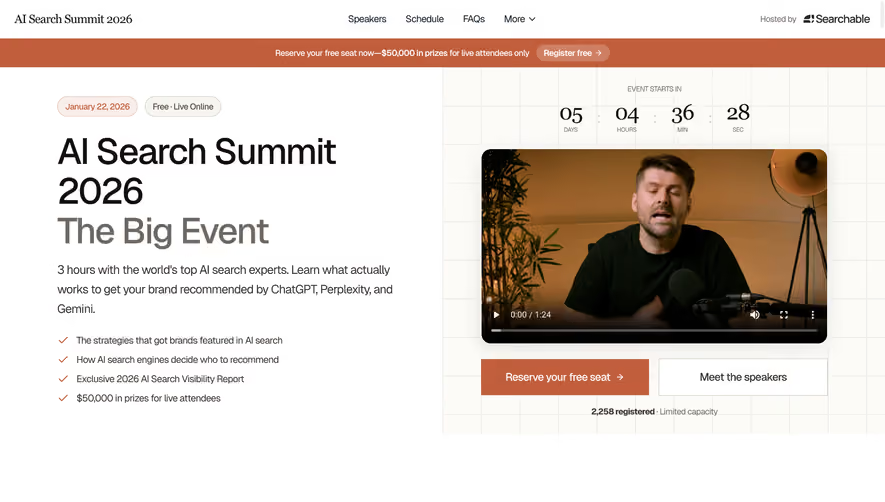


1. Header: At the top of the page is a fixed header that includes the Figma logo on the left and a navigation menu on the right. The navigation menu has links to "Events," "Resources," "Pricing," and "Sign In." 2. Hero section: The hero section is the first thing that greets the user. It includes a headline that says "Join Figma for Live Events," a short description, a button that says "View All Events," and an image of a person with a laptop. 3. Event categories: Next, there are six event categories listed in a row. Each category has an image and a title. The categories are "Design Systems," "Collaboration," "Design in Tech," "Web Design," "Product Design," and "Design Leadership." 4. Upcoming Events: The next section shows a list of upcoming events in chronological order. Each event has a title, a date, and a short description. There is also a button to register for the event. 5. Past Events: Below the upcoming events section is a list of past events organized by month and year. Each past event includes a title, date, and a link to view the recording. 6. Call-to-action: At the bottom of the page is a call-to-action section that invites visitors to join Figma for free. It includes a headline that says "Start Designing for Free Today," a short description of Figma's benefits, and a button that says "Sign Up for Free."


Figma Events Page

Figma
The collaborative interface design tool.
Designed by
No items found.
Category
Patterns
No items found.
Tech Stack
Added on
May 30, 2020