 SaaSFrame

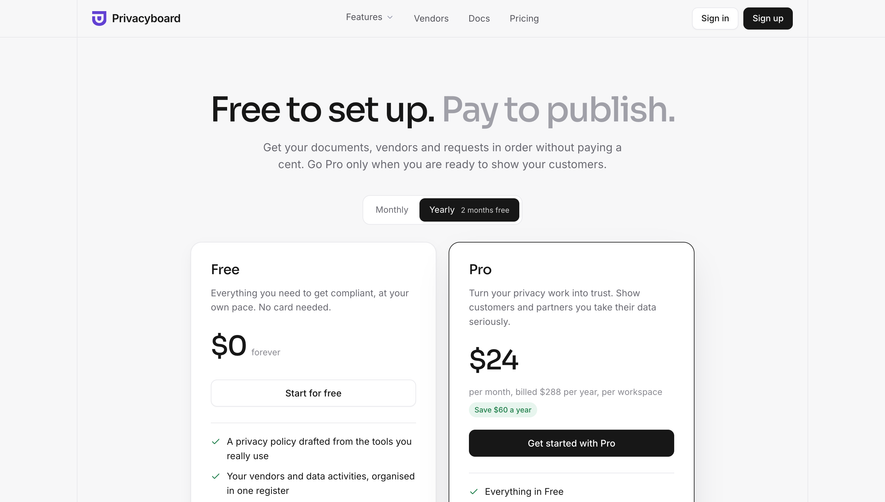
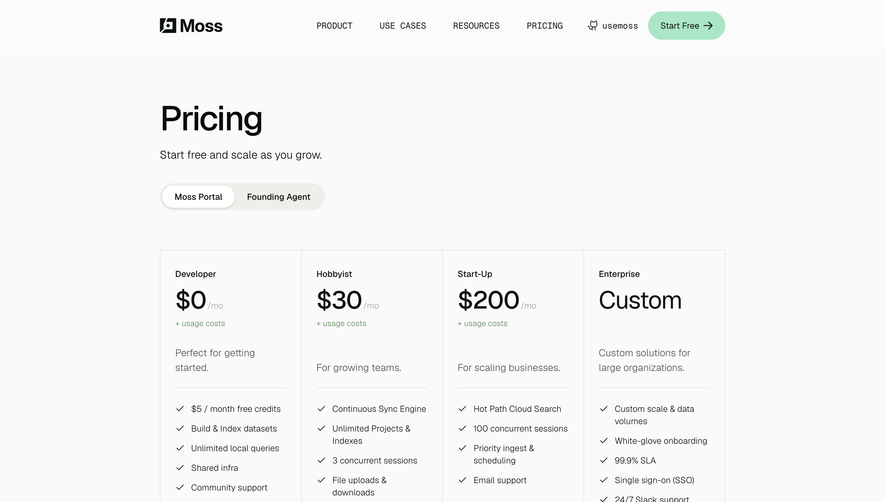
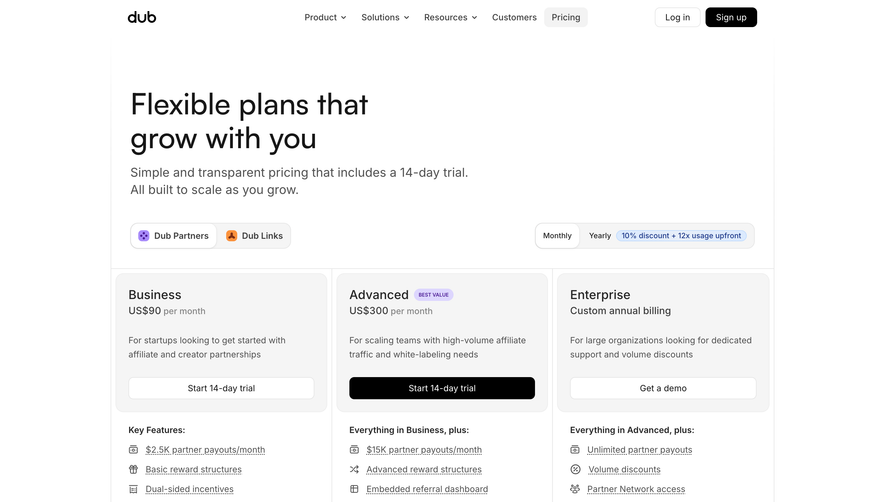
1. Header: The page has a header section that includes a logo on the left side, menu options on the right side, and a big title in the center. 2. Hero Section: The hero section has a big title, a subheading that describes the main features of the product, and two CTA buttons. The section includes a video that demonstrates the product's functionality. 3. Plans and Pricing Section: This section highlights the different pricing plans offered by Miro. It displays three plans- Free, Team, and Business. Each plan includes the features it provides and its price per month. 4. Compare all plans- A 'compare all plans' button is placed below the pricing table. It allows users to compare the features and prices of all the plans. 5. Testimonials Section: This section includes testimonials from several businesses that have used Miro. It provides social proof of the product's effectiveness and good customer service. 6. Additional Features Section: This section includes a list of additional features that come with Miro's paid plans. It highlights how users can make the most of the tool. 7. FAQ Section: The FAQ section answers some of the most common questions asked by potential customers. It provides clarity on pricing, features, and other important aspects of the product. 8. Contact Us: The 'Contact Us' button at the bottom of the page allows users to send inquiries or get in touch with Miro's customer support team. 9. Footer: The footer section includes links to important pages, such as the company's blog, help center, and social media profiles. It also includes links to legal pages and has a copyright notice. Overall, the page is designed to provide potential customers with comprehensive information about Miro, its pricing plans, and features. By following a clear and logical structure, users can quickly and easily understand what the product is about, its value proposition, and how it can benefit them.